Most of the time it happens that the MX player plays some videos without sound. If you getting EAC3 Not Supported in MX Player then here I will show you how you can fix any video sound in MX Player using the Mx Player custom codec.
Mx player is really a popular video player Application but it doesn’t support some audio formats like EAC3 until you download and install a custom codec specifically for the Audio Format.
While Streaming, Mx Player doesn’t support these audio formats DTS, DTSHD, AC3, EAC3, and MLP.
If you’re getting an EAC3 Not Supported MX Player issue then just follow all my steps and I will show you how to fix How to solve the EAC3 problem in the MX player. We can Fix MX Player EAC3 Audio Not Supported issue by installing a Custom codec.
Read: How to Enable Movie Subtitles in MX Player
How to Play EAC3 Not Supported MX Player: Fix Audio Format Not Supported
EAC3 stands for Enhanced Audio Codec 3 is an Mx Player’s codec that helps to create syncing between audio and video. If this codec is not installed, the Mx player will get an issue providing audio in videos.
So, Just Follow All my steps and I will show you How to Play the EAC3 Not Supported MX Player. Fix MX Player EAC3 Audio Not working by installing Custom Codec.
Step 1. Download EAC3 Custom Codec, MX_AIO.Zip

If you’re getting an EAC3 Audio format not supported issue in Mx Player then firstly download MX_AIO.ZIP Custom codec. I am providing you Direct Google Drive Download Link, simply Download and follow the next step.
Firstly You have to Join Telegram Channel to Unlock the 1.44.0 ARMv8 Neon Codec Google Drive Download Link.
Download Link 1
Download Link 2
Step 2. Click on 3 Dots Located on the Top Right

After Downloading the Custom Codec, Open Mx Player and play a video. Then, Click on the 3 dots located in the top right corner.
Read Also:
- How to Change Status Bar Color on Android: 3 Best Free Apps
- How to Try Big Google Play Store Games Without Installing
Step 3. Click on More

Here, you will see some options, click on the More option.
Step 4. Open MX Player Settings

After clicking on More, you’ve to click on the MX Player settings option.
Step 5. Click on Decoder
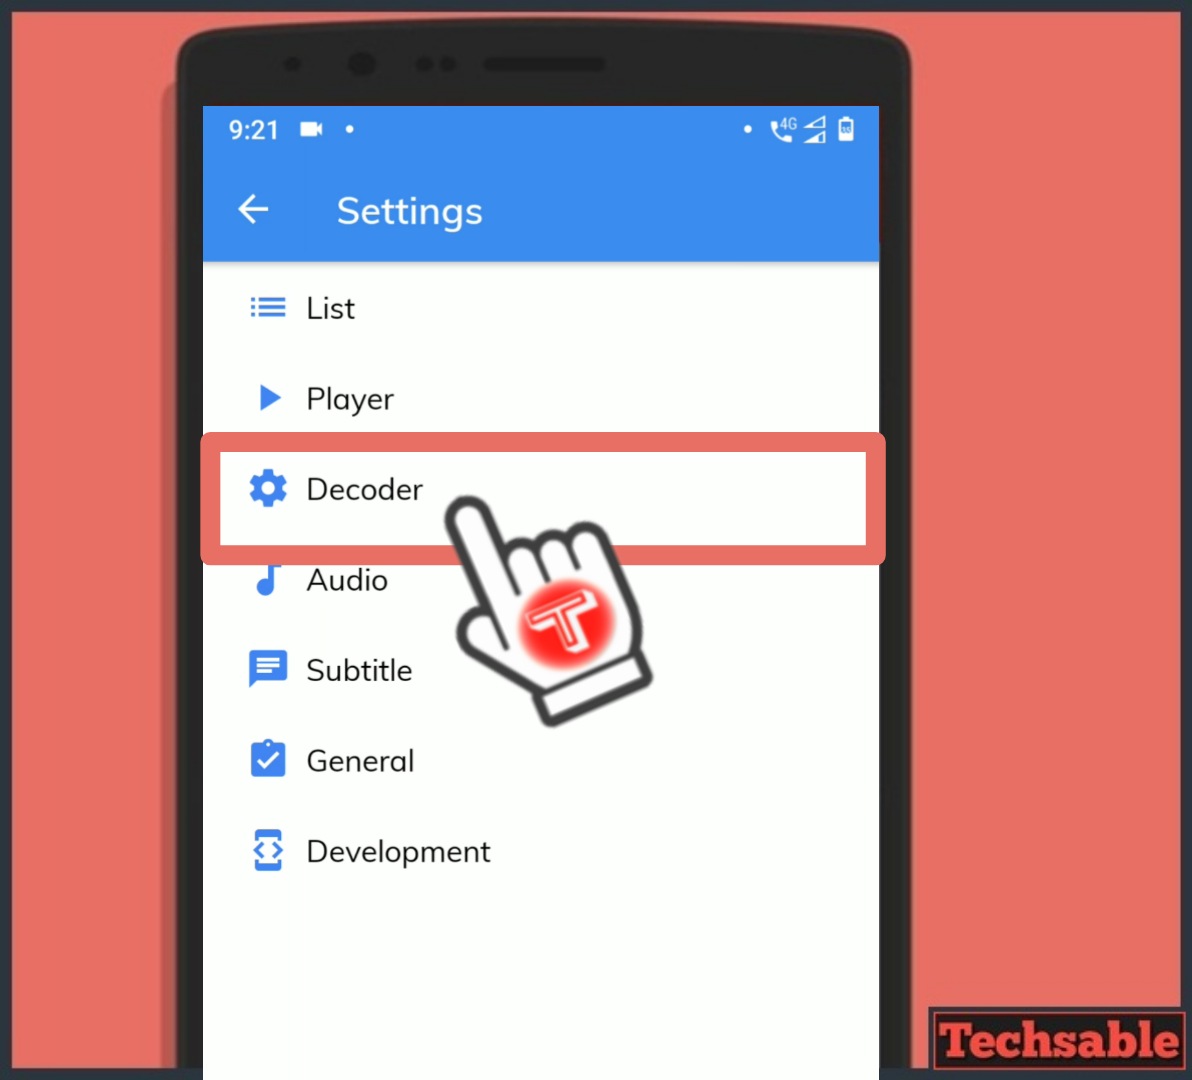
Now we’re in the MX Player settings and you’ve to click on Decoder.
Step 6. Click on Custom Codec

In the Mx Player Decoder settings, Scroll down to the bottom and click on Custom Codec.
Step 7. Select mx_aio.zip Custom Codec
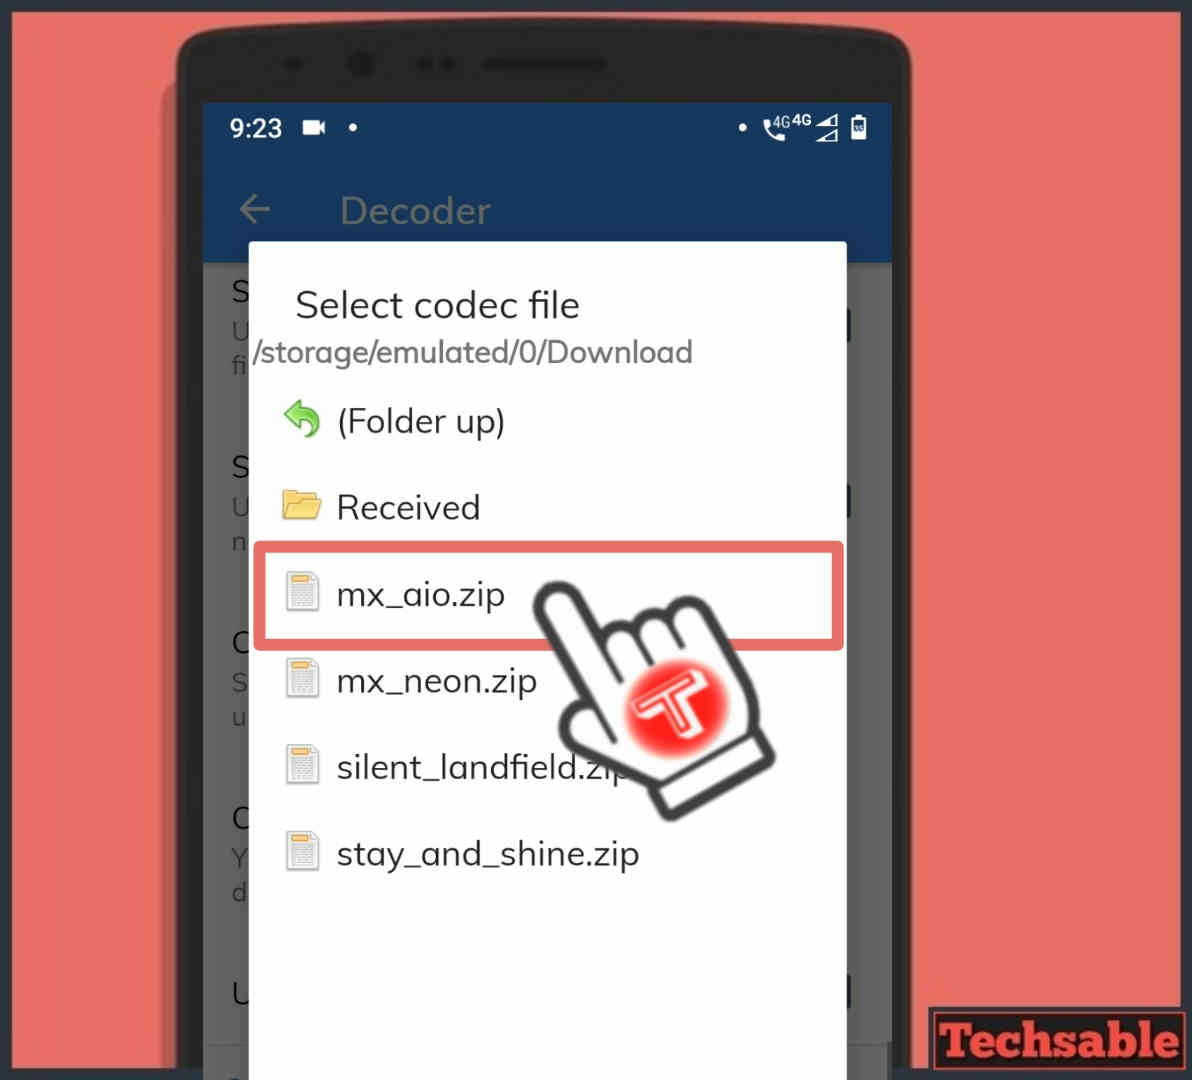
Now, Select the mx_aio.zip custom codec that we’ve downloaded in step 1. Just locate the Custom codec file and select it.
Step 8. EAC3 Audio not Support Issue is Fixed now
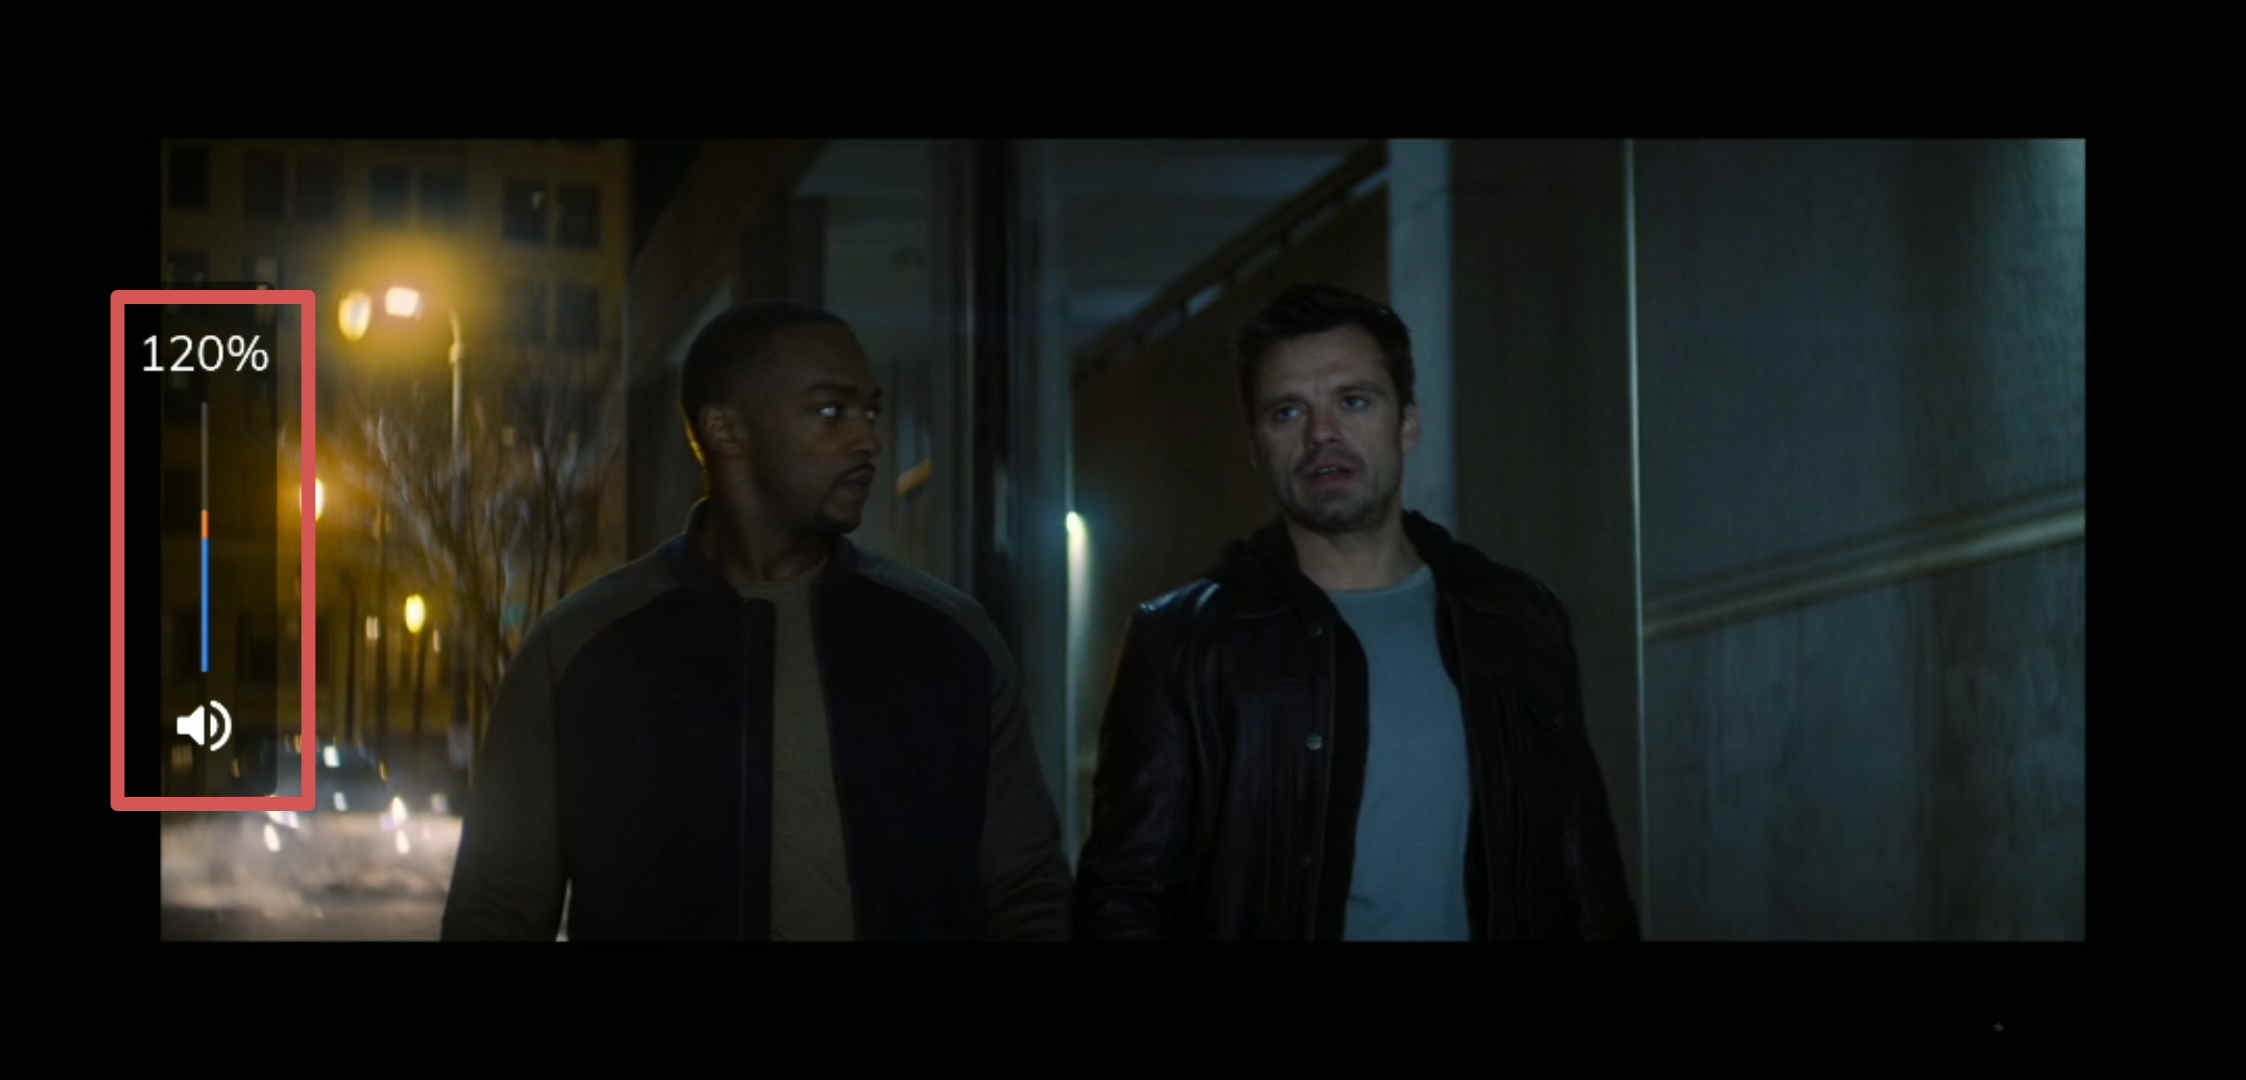
After Selecting the MX_AIO.ZIP Custom codec, Close MX Player App and open it again. Then, play EAC3 Audio Not Supported Video and this time video will play with the sound. MX Player Custom Codec will fix the unsupported audio issue.









Problem at 7th step
Downloaded file not showing
Check Where you’ve downloaded your MX Player Custom Codec. If still not visible after downloading, Go to your File manager settings and enable show Hidden Files then check File again. It will definitely work.
Its saying cant find custom codec use version 1.41.2 arm v8 neon pls upload this zip also
Just Update your MX Player App to the Latest version and do it again. It will definitely work.
At step 8. While giving custom codec Its showing as “can’t find custom codec.please use version 1.41.2 ARMv8 NEON codec.”
Just Update your MX Player App to the Latest version and do it again. It will definitely work.
Still the same bruh
Now its working bro. Thanks alot
Большое спасибо. Все работает после обновления плеера.
добро пожаловать
You’re most welcome.
Same as Jackson ray.
Why do they make it so difficult?
Grateful to you 😇
Thank you soooooo much ❣️
Thanks for the drive link also 😊